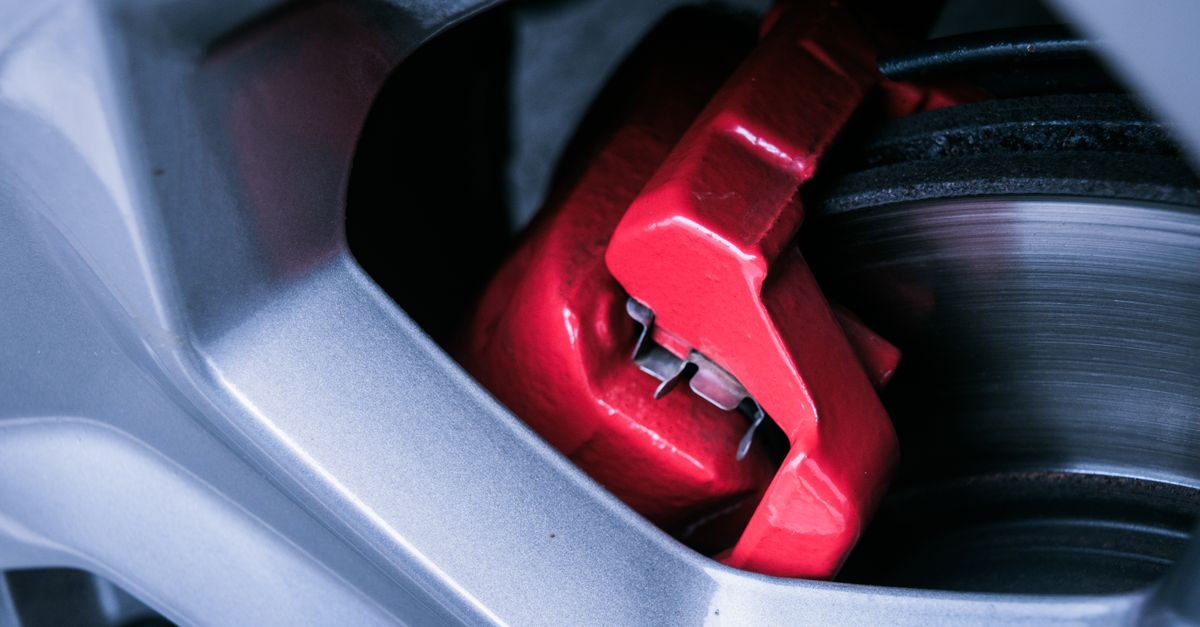
How to Replace Brake Pads Safely: A Step‑by‑Step Guide for 2026
When the squeal grows louder and stopping distances lengthen, it’s time to replace brake pads. Doing the job yourself can save money and give you confidence that the job was done right. This guide walks DIY enthusiasts and professional mechanics through every stage of the process, from preparation to final road test, while highlighting maintenance tips and common mistakes to avoid.
Why Replacing Brake Pads Matters
Brake pads are the friction material that presses against the rotor to slow your vehicle. Worn pads reduce braking efficiency, increase stopping distance, and can damage rotors, leading to costly repairs. Regularly replace brake pads before they reach the wear limit preserves safety and maintains consistent pedal feel.
Tools You’ll Need
- Jack and jack stands
- Lug wrench
- Socket set (usually 13 mm or 14 mm)
- Brake caliper piston tool or C‑clamp
- Torque wrench
- Brake grease (high‑temperature silicone)
- New brake pads (OEM‑quality aftermarket recommended)
- Safety glasses and gloves
Step‑by‑Step Procedure to Replace Brake Pads
1. Prepare the Vehicle
Park on a flat surface, engage the parking brake, and place wheel chocks behind the opposite wheels. Loosen the lug nuts just enough to break friction, then lift the vehicle with a jack and secure it on jack stands. Remove the wheel to expose the brake assembly.
2. Remove the Caliper
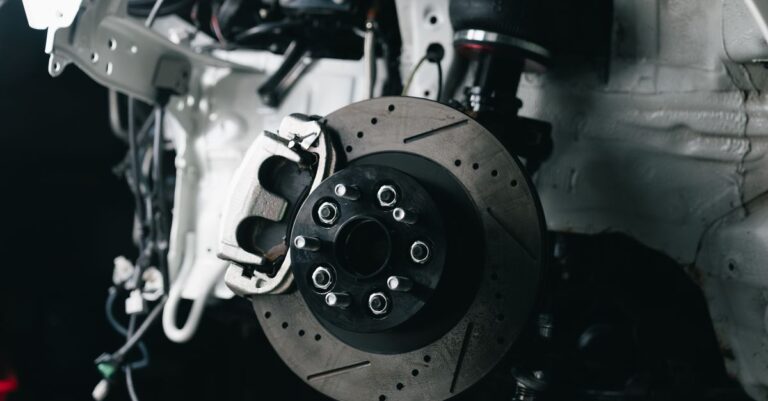
Locate the two caliper bolts on the backside of the caliper. Using the appropriate socket, remove them and carefully slide the caliper off the rotor. Support the caliper with a bungee cord or a piece of wire; never let it dangle by the brake hose.
3. Extract the Old Pads
Old pads are usually held in place by retaining clips. Remove the clips, then pull the pads out. Inspect the rotor for scoring or discoloration; minor rust is normal, but deep grooves may require resurfacing or replacement.
4. Compress the Caliper Piston
Use a brake caliper piston tool or a C‑clamp to gently push the piston back into the caliper bore. This creates space for the new, thicker pads. Watch the piston move evenly; if it sticks, apply a small amount of brake fluid to the piston seal.
5. Install the New Pads
Apply a thin layer of brake grease to the pad backing plates and any sliding pins. Position the new pads in the caliper bracket, reinstall the retaining clips, and ensure they sit flush against the rotor.
6. Reassemble the Caliper
Place the caliper over the new pads, align the bolt holes, and reinstall the caliper bolts. Torque the bolts to the vehicle manufacturer’s specification (usually around 90 Nm for most passenger cars). Re‑mount the wheel, hand‑tighten the lug nuts, lower the vehicle, and finish tightening the lug nuts in a star pattern.
7. Bed‑In the New Pads
Before driving normally, perform a proper bedding procedure: accelerate to about 30 mph, then gently apply the brakes to a stop. Repeat this 8‑10 times, allowing the pads to cool for a minute between each stop. This transfers an even layer of friction material onto the rotor, maximizing performance and longevity.
Common Mistakes to Avoid
- Skipping the piston compression: New pads won’t fit if the piston isn’t fully retracted.
- Over‑tightening bolts: Excess torque can warp the caliper or strip threads.
- Neglecting to clean the caliper slides: Sticking slides cause uneven pad wear.
- Using low‑quality pads: Inferior material squeals, wears quickly, and can damage rotors.
- Forgetting to bed‑in: Un‑bedded pads produce uneven contact and reduced stopping power.
Maintenance Tips After You Replace Brake Pads
- Check pad thickness after the first 500 miles; wear should be uniform.
- Inspect rotor condition every 12 000 miles; replace if thickness is below spec.
- Flush brake fluid every 2‑3 years to prevent moisture buildup.
- Listen for any squeal or grinding; address it early to avoid costly repairs.
- Keep the brake system clean; brake dust can be corrosive over time.
Brake Pad Comparison Table
| Brand | Material | Fitment Range | Price (USD) | Recommended For |
|---|---|---|---|---|
| Brand A | Ceramic | 2015‑2024 Compact Cars | 45 | Daily drivers seeking low dust |
| Brand B | Semi‑Metallic | 2010‑2026 Trucks & SUVs | 55 | Performance enthusiasts needing higher bite |
| Brand C | Organic | 2018‑2026 Sports Coupes | 65 | Track day use with high‑temperature stability |
FAQ About Replacing Brake Pads
- How often should I replace brake pads? Most pads last 30‑70 000 miles, but listen for squeal or monitor pad thickness.
- Can I reuse the caliper hardware? Yes, as long as bolts and pins are in good condition and not stripped.
- Do I need to replace rotors when I replace pads? Not always; replace only if rotors are below minimum thickness or show deep scoring.
- Is it safe to drive with one side’s pads replaced? Yes, but try to replace pads on both sides of the axle for balanced braking.
- What is the best brake fluid for my vehicle? Follow the manufacturer’s recommendation, typically DOT 3 or DOT 4 for most passenger cars.
Ready to Upgrade Your Braking System?
Choosing quality aftermarket pads ensures reliable performance and longer service life. Browse our selection of OEM‑quality brake components at the Driven2Parts shop and find the perfect match for your vehicle.
For official safety standards and recall information, visit the NHTSA website.